
February is a time to continue planning but also the time to do some of the prep work for growing a garden. It’s a great time to decide on what you want to grow, decide on using seeds or plants, garden design and rotation planning, check your tools, check your vertical gardening supplies, do your soil testing and add some amendments to your garden beds. We will take all of these topics one at a time.
- List of plants to grow
- Seeds or Plants
- Garden Design
- Rotation
- Tools
- Vertical Gardening
- Soil Testing Kit
- Soil Amendments
- Fertilizers
Early February
Now it’s time to decide on your plants. What do you want to grow? Once you decide on what you’re growing, you can decide on whether you are starting them from seeds or just buying the plants.
Seeds or Plants
I mentioned earlier buying plants limits the varieties you can grow but this is still a great option if you are short on time, space or experience. If this is your first garden you might want to just buy some plants in the spring. You also might want to just try a couple of packs of seeds to see how it goes and buy the rest from plants.
I start most of my plants from seeds. If the seeds fail to sprout or if they don’t end up growing for whatever reason, I just buy plants to replace them later in the season. One year I had all my growing seeds out in a portable greenhouse. I was hardening them off so I could plant them in the garden. A freak wind came along and picked up the whole greenhouse and threw it in the backyard. I lost almost all of my started seeds that year.
Frustrating, yes, but I still had a great garden. It was a different garden from my plans but still great. Whenever you are growing plants you are going to lose some of them. Animals eat them, severe cold or wind kills them, snowmobiles run over them, etc. Don’t focus on the loss, just keep planting or replanting. Eventually, you will have exactly what you want. or better!
Starting Plants from Seed Under Grow Lights
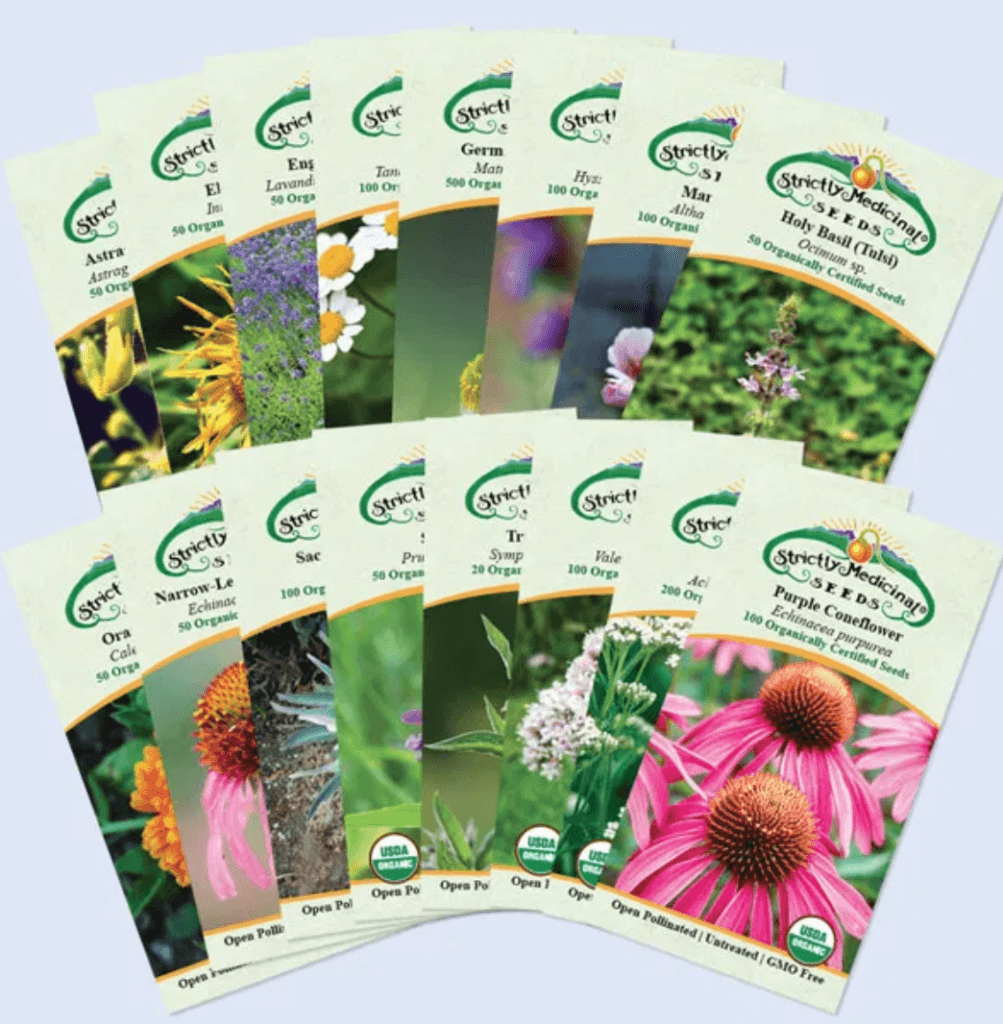
Here’s what I am growing from seed starting in February through April:
16 of the 18 medicinal herbs for my medicine wheel (see the plan here), a variety of tomato seeds (Amish Paste, Brandywine, Cherokee Purple, Gold Medal), green and red mild peppers, banana peppers, tulsi (Amrita, Krishna, Rama, Temperate), lemon balm, motherwort, purple coneflower, ashwaghanda, wormwood, helichrisium, spilanthes, wild lettuce, meadow arnica, German and Roman chamomile, rhubarb, schisandra, poppies, cucumbers, melons, gourds, onions, celery, eggplant, sweet potatoes, and strawberries. Some of these plants will also be planted with plants like strawberries and rhubarb but I wanted to try a couple of varieties from seeds and see how they turn out.
Starting Plants from Seed Directly in the Garden in the Spring
Here’s what I plan to plant straight into the garden as seeds:
beans (snap, bush and pole), broccoli, cabbage, carrots, corn, cucumbers, eggplant, kale, kohlrabi, lettuce (loose and head), onions sets, seed potatoes, parsley, cilantro, peas, pumpkins, rutabagas, spinach, spaghetti squash, strawberries, sunflowers, sweet potatoes, tomatoes, turnips, and zucchini.
I will also add some plants that I find in garden centers that look good or that I need for a particular area (more about that in April and May).
Garden Location – Raised Beds or Not
Decide on your location for your garden. The ideal location is in full sun, drains great, is somewhat flat or gently sloped. You don’t want your garden sitting in water and not draining. Your plants will drown in this condition. Gently sloped is ideal because the water will run off and not collect in puddles.
I decided to build raised beds in my garden for many reasons. One, the area I had available for my garden is adjacent to a culvert that funnels water from three directions directly into and through my side yard. There is not too much I can do about this and the area is still a great place for my garden. I built (my husband built) raised beds on the North side of the garden. I will plant the North side first and give the South side more time to dry out if it needs it. Raised beds always dry out earlier and are ready to plant area than areas of non raised beds.
Second, raised beds can be prepared once and then just added to over the years. I don’t like to rototill over and over because I think it ruins the makeup of the soil. I rototill the raised bed once to prepare it and then I add peat moss and aged chicken manure each year to replenish it. I mulch heavily and also allow the mulch to break down and add to the soil. I think of it like a forest floor. Each year gets another layer which adds to the previous layer. This produces very healthy soil over the years which is great for organic gardening.
Third, raised beds don’t get walked on and compacted soil like regular garden beds. Everyone and their mother walks all over the garden disregarding the growing areas. With raised beds and walkways, everyone knows where they can walk and where they can’t. Almost everyone I should say. Your happy and your plants grow better too.
Raised Bed Expense
Raised beds can be expensive to start. You have to choose and buy the material to build them. Treated wood is out because it leaches chemicals into the soil which your plant roots will find. Untreated wood only lasts about 10 years so it has to be replaced. Cement blocks will leach lime into the soil which can also be bad for your plants. Bricks can be a good choice but they are expensive. Rocks are probably one of the best materials to use, especially if you can get a lot of them for free.
I decided on untreated lumber because I like the way it looks, I can choose exactly how deep to make it, and it looks great with a brick pathway. I built raised beds on the North half of my 100 by 100 foot garden. The raised beds were expensive to build so I only had enough money this year to build half of them. I thought it would be a great experiment to compare how the raised beds half of the garden grow compared to the rototilled flat half. I can’t wait to start planting and see how it goes!
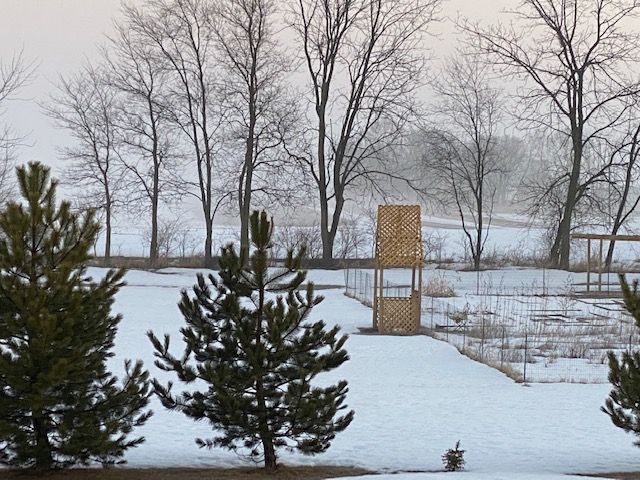
Raised Bed Design
My raised bed design has small 3 by 3 foot square beds which I will use for perennial food plants such as strawberries or small fruit bushes. The longer L shaped beds will hold the summer garden plants that can be rotated each year.
The North side of each bed will hold the taller plants so they won’t shade the shorter plants. The beds in my flat side of the garden will be oriented East to West to get the most sun.
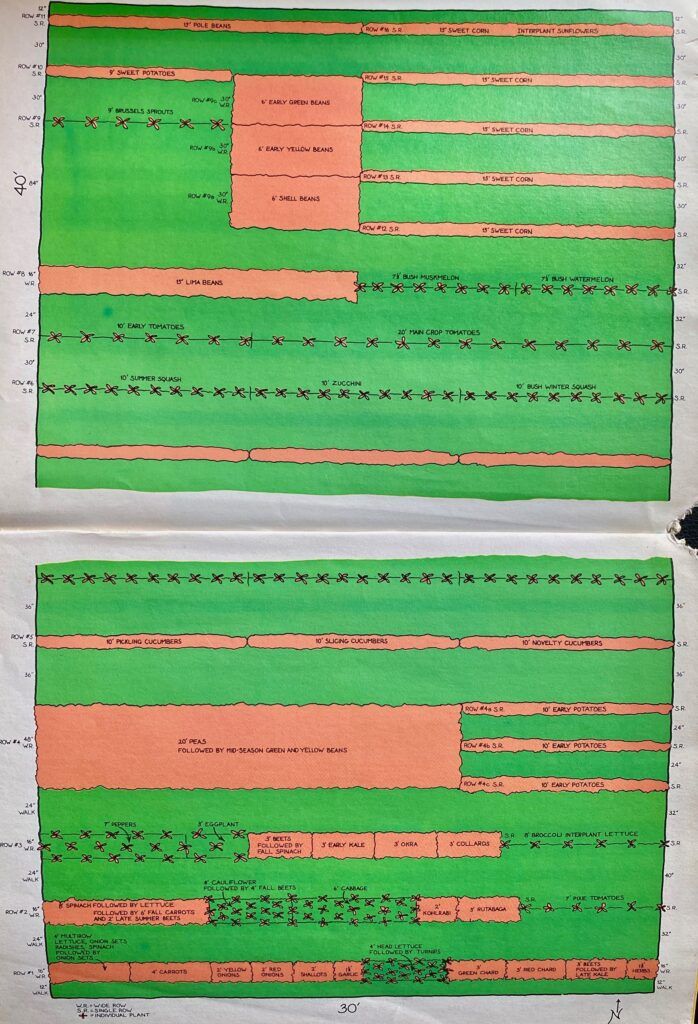
This year I am going to experiment with a 40’ by 30’ foot vegetable garden that follows Dick’s garden plan. This will be the Southeast corner of my 100’ by 100’ fenced garden. The Southwest corner is going to be planted with pumpkins, birdhouse gourds, bushel gourds, and watermelons.
The raised beds will hold the medicinal herbs, tulsi and other tea plants, poppies, small fruit bushes, and whatever I find in my travels to various nurseries. I can adjust any of my plans as needed during the growing season.
Your garden does not have to be this size. You can start with a couple of planter boxes or pots if you want. Decide on what you want to grow, how big you want your garden to be, and where you can locate your garden. You an start small at first to see how you like it and if you can manage it and then adjust according to your needs the next year. That’s part of the fun of gardening. It can change from year to year and it never gets boring.
Mid February

Soil Testing
Now is the time to buy that soil testing kit. You will need to know the ph of your soil and the levels of Nitrogen, Phosphorus and Potassium so you can add the proper amendments if necessary.
A ph of under 7 is an acid soil, a ph of 7 is a neutral soil, and a ph of over 7 is an alkaline soil. My soil tends to be alkaline. Most vegetable plants like a ph of about 6.5. Some plants like blueberries and evergreen trees like a more acidic soil but for the garden we will aim for about a 6.5 ph.
Lime (ground limestone) brings the ph of your soil up. So if your soil is too acidic you can add some ground limestone. Never add limestone to your potato section though. Potatoes won’t grow well with limestone. If your soil is too alkaline you can add some sulphur. Make sure you do a soil test before you add anything because you don’t want to add the wrong amendments.
Wood ashes are a great way to add some potassium to your soil and will bring up the ph of the soil if it is too acidic. One to two pails is enough for a 1,000 square foot garden space. You can also add wood ashes to your lawn for a dark green lawn.
Nitrogen
Nitrogen gives your leaves that dark green color. Yellow leaves can show a need for nitrogen. You don’t want to give your plants too much nitrogen because they will grow too much leaf and stem and not enough fruit.
You also do not want to feed a perennial plant nitrogen too late in the season because the new leaf growth will make the plant susceptible to killing frosts. (I’m thinking of rose bushes here. I never want to give them fertilizer after mid August in my zone 5 area.)
Phosphorus
Phosphorus stimulates the plants root growth. All of your plants need phosphorus for healthy root growth but your root crops will especially need this nutrient. Bone meal is an organic way to add more phosphorus to your plants. You can rake this into the soil in the areas where you are growing your root crops.
Potassium
Potassium is the third element needed for healthy plants. Potassium is especially helpful when plants are flowering and starting to bear fruits.
Fertilizer
Dick recommends a 5-10-10 or 10-10-10 fertilizer. A 5-10-10 fertilizer will have 5 parts nitrogen, 10 parts phosphorus, and 10 parts potassium. A 10-10-10 fertilizer will have an equal of 10 parts of each component.
He suggests preparing the garden in the spring by testing the soil, adding amendments and rototilling or digging in the amendments with a shovel. He suggests sprinkling a quart size container of either one of the above fertilizer combinations over an area the size of 10 feet by 10 feet or 100 foot total area of garden.
Compost
Some people might want to only use compost in their garden and not chemical fertilizers. You can add rotted leaves, grass clippings, aged manures, aged kitchen scraps and rototill or dig these amendments into your soil in the fall and let them break up over the winter. If you have a compost pile, you could add some alongside each plant in the spring when you plant.
I have chickens so I have a lot of chicken manure. I age it before adding it to the garden in the spring. I also add leaves, and chicken manure to my garden in the fall when I do the final clean up.
Chickens are great for garden clean up in the fall if you don’t have perennial plants in the garden. They will clean up all the bugs, leave some manure fertilizer, improve their health, lay great eggs, and a make for a healthy garden next year. Win. win all around.
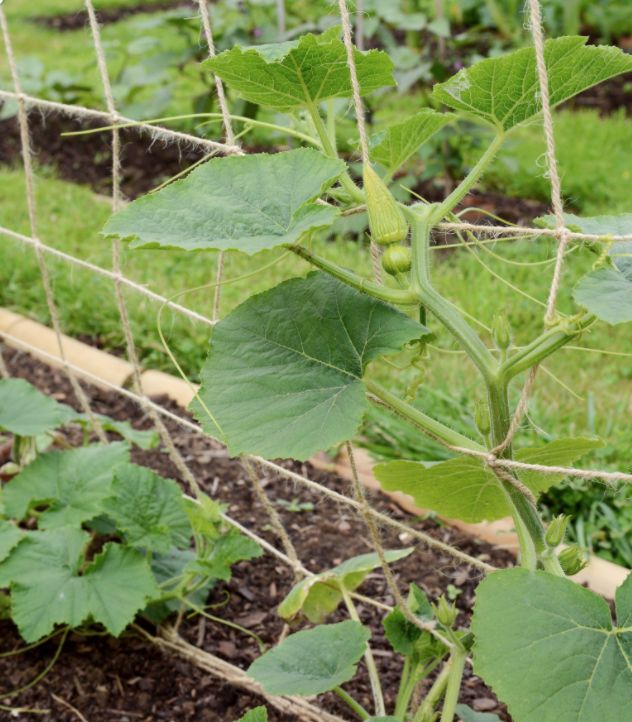
Vertical Gardening
Now is the time to build some of you vertical gardening supports. You can find plans here for the supports I am using in my raised beds and here for the supports I am using in my Southeast section.
Vine families do better with a support to climb on. This also frees up more ground growing space to grow more crops. You can also grow a shade loving plant like lettuce under the support of the cucumber vine. This is a great way to utilize all your space and give each plant the best growing environment to flourish.
A frame of 2 by 2’s and chicken wire makes a great trellis for climbing plants. Tepees made with four poles, with or without wire, makes a great growing frame for pole beans and other climbing plants.
End of February
Seed Starting Indoors
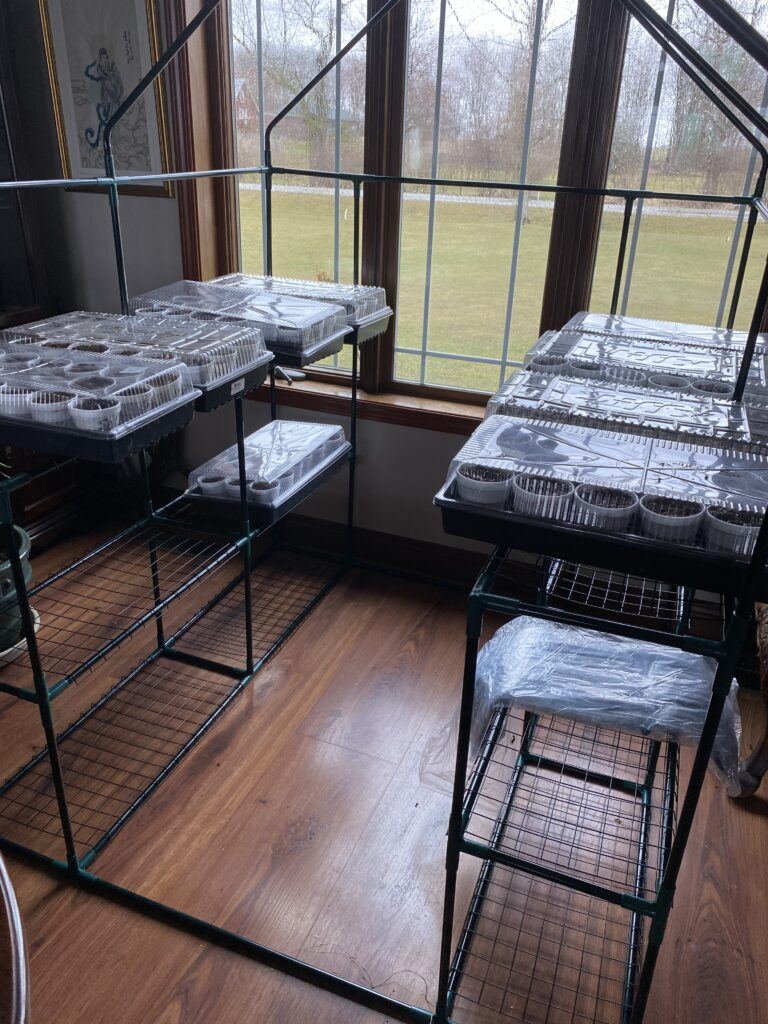
You can find detailed directions for starting your seeds indoors here. I start seeds under grow lights in my bath tub. SInce I only have 1 shelving unit with grow lights, I also put one of my portable greenhouses in my dining room in front of a South facing window. The plants in this window are growing as good as the plants growing under the grow lights.
I know not everyone wants to put a small greenhouse in their dining room :). You can look around your home and find a sunny spot to start a couple of flats or pots of seeds in a sunny window.
I used to start a couple of flats of vegetables on top of my refrigerator. The top of the refrigerator is always warm and it was a great spot for starting plants. My refrigerator is built into the cabinets in my current house so I can’t do that now. Be creative and find a spot to start some seeds. You will eventually have a green house in your dining room.
Check Your Tools
The winter is also a good time to check your tools. Make sure everything is in good working order. Sharpen any that need it if you can. Maybe buy some new tools if you need them.
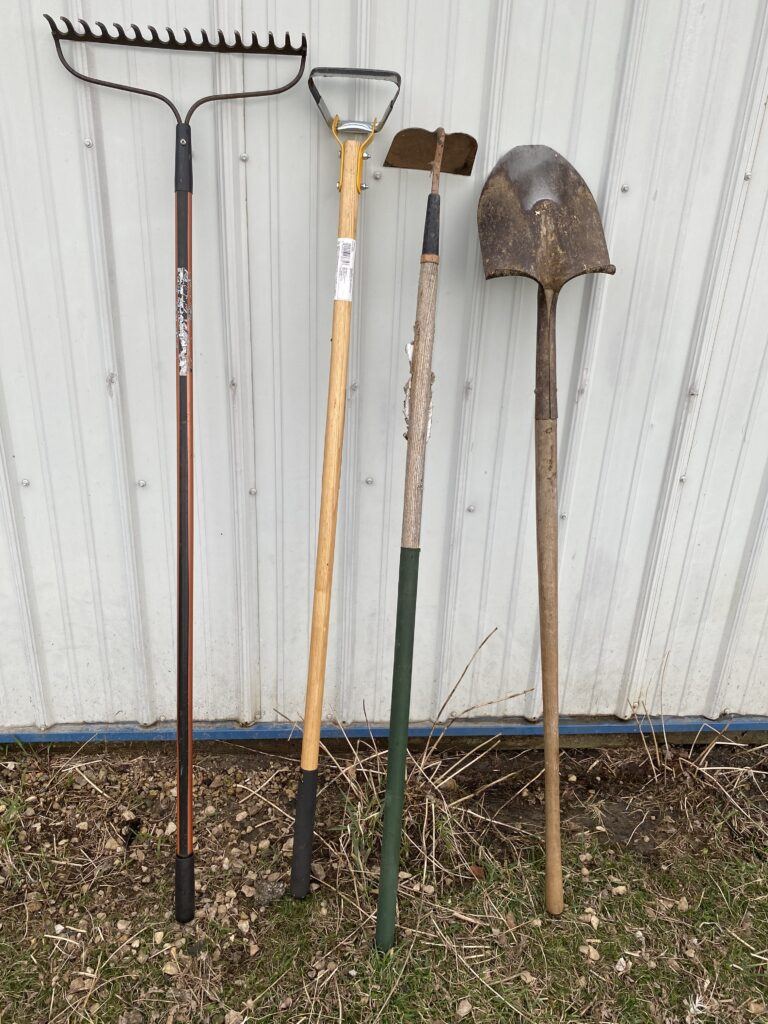
The tools I can’t go without are: good quality trowel, shovel, hoe, pruner, garden knife, pitch fork, weeder, mini tiller, larger tiller and metal rake. I will show each tool as I use it in the coming months. Good tools are worth the extra price. Cheap tools break easily, have to be replaced frequently, usually cost you time and effort to use, and just slow you down.
Reminders for February
- Decide what you are planting.
- Design your final garden plan.
- Order the rest of your seeds.
- Buy your soil testing kit.
- Check or buy any tools you might need.
- Buy any fertilizers you plan to use.
- Gather your seed starting supplies.

Looking Ahead – March
- Starting, watering and transplanting indoor seedlings
- Planning you pest elimination strategy
- Completing your soil test
- Starting some early crops in the garden
That’s it for February. See you in March!
Veronica